Garage door automatic openers are quite popular these days. But before you buy them, you must look at their pros and cons.
Garage Door Automatic Opener Pros and Cons During Programming
A more likely reason is reprogramming one of the remotes or the keyless entry keypad. While programming, somebody nearby could be using a garage door remote at the same time and it is programmed to the garage door opener. Now, when they are opening their garage, they are also opening and closing another garage.
If somebody else has a garage door remote that is potentially opening and closing the garage, erase all of the codes from the garage door opener. Hold down the learn button until the light comes on and then turns off. That erases all the garage door remotes and the keyless entry keypad.
Garage Door Opener Pros and Cons
Hold down the learn button again until the light comes on and off. This erases the garage door remotes, the keyless entry keypad, and the MyQ devices from the garage door opener.
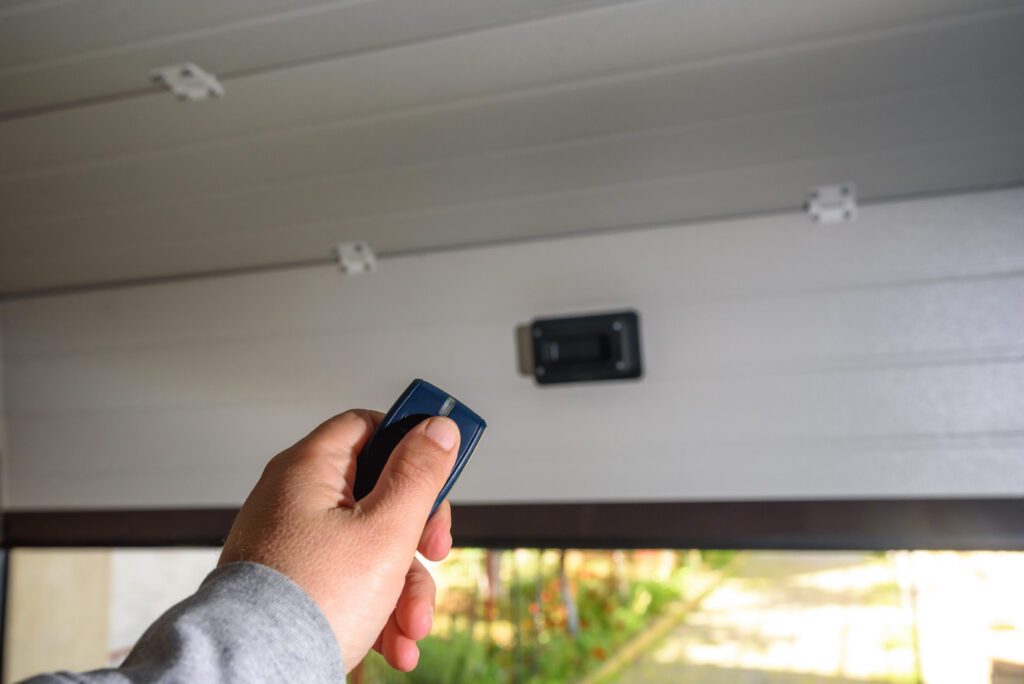
After erasing the codes, test the garage door remotes and make sure they are no longer programmed to the garage door system. Then reprogram the garage door remotes and the keypad.
Garage Door Automatic Opener Pros and Cons During Installation
Installing a garage door opener can be a moderately challenging task. Given the right tools, patience, and a little help, it can typically be done in an afternoon.
Follow each step of the installation to make sure the garage door opener operates properly and safely. Read the manufacturer’s installation instructions and confirm that all required parts are available.
Most garage door openers have a carriage system. The opener runs on a rail or tube from the motor to the front of the garage. An arm connects the carriage to the garage door to enable raising and lowering.
There are different kinds of openers. Chain drive or belt drive openers connect the motor and carriage by a chain or rubber belt. Direct drive openers connect the carriage to the motor with a large threaded rod. They tend to be quieter than chain drive openers.
Assemble the carriage tube according to the manufacturer’s instructions. Mount the carriage tube to the front of the power unit. Place the carriage over the carriage tube according to the manufacturer’s instructions.
The mounting bracket secures the carriage tube to the wall above the door. Lift the garage door to find the highest point of travel. Mark the wall, measure above the first mark, line up the bracket, and bolt it to the wall.
Place the power unit on a stepladder. Bolt the angle irons to the garage rafters. Attach the straps to the iron and connect them to the power unit. Plug the opener power cord into a receptacle with continuous power.
Attach the carriage tube to the header bracket. Attach the carriage arm, connect it to the door bracket, and attach the emergency release.
Select a location for the wall button. Connect the wire as directed. Press the button to test the remote opening of the garage door. Open the door fully and adjust the travel controls so the door opens and closes at the proper height.
Safety Sensors and Testing
All garage door openers come with a safety mechanism, usually a light beam and sensor that stops the motor if something gets in the way of the door.
Mount the sensors on either side of the garage door no more than 6 inches from the ground. Run the sensor wires to the main power unit and attach the wires to the correct slots.
Test the sensors to make sure they see each other. They must be aligned vertically and horizontally so the sensor eye can see the beam from the opposing sensor.
If replacing an old garage door opener, the old tracks can likely be used, but the old motor needs to be removed. Clean the tracks and lubricate them.
Common Garage Door Opener Issues
The first thing to look at is the garage door remotes. Make sure they are in good working condition, and the button is not getting stuck down. Look at where the garage door remote is stored when it is not being used. Something nearby could be pushing down on it or falling on it, causing it to open the garage door.
Damaged wiring in the keypad, garage door control panel, garage door motor unit, or one of the garage door safety sensors can also be a problem. There is one safety sensor on each side of the garage door on the garage door tracks. They are meant to open the garage door back up if the signal between them is interrupted.
If the garage door is opening by itself, there is a potential problem with the connection between the two sensors. It could also be the wiring between the garage door safety sensor and the garage door opener. If it is any of these things, get a qualified garage door repair technician to diagnose it further.
For professional garage door opener services in New Jersey, see Garage Door Openers.
FAQs
What can cause a garage door to open by itself?
The first thing you want to look at is your garage door remotes and make sure that they’re in good working condition and that the button isn’t getting stuck down. It could also be damaged wiring in the keypad, garage door control panel, garage door motor unit, or garage door safety sensors.
How do garage door opener codes get erased?
Hold down the learn button until the light comes on and then turns off. That erases all the garage door remotes and the keyless entry keypad.
How are MyQ devices erased?
Hold down the learn button until the light comes on and off. Release the button and immediately press the learn button again until the light comes on and off again.
How should a garage door opener be tested?
Test the garage door remotes and make sure they are no longer programmed. Press the button to test the remote opening of the garage door. Open the door fully to make sure it clears the mounted opener and operates properly.
What is the purpose of the safety sensors?
They are meant to open the garage door back up if the signal between them is interrupted. Test the sensors to make sure they see each other. They must be aligned both vertically and horizontally.
Conclusion
A garage door opener should operate properly and safely. Before starting, read the manufacturer’s installation instructions and confirm that all required parts are present.