Installation of a garage door opener can sometimes be an engaging task that unless you are experienced, you cannot do on your own.
Regardless of the option you choose, between hiring the services of a garage technician or the DIY route, the process is the same. Knowing what to expect is critical to you planning for the project effectively.
On average, installation should take between 3 and 6 hours. This article gives you a glimpse of what the process looks like.
Planning of the Project
Any successfully executed project relies heavily on effective planning; and this one is no different. You first have to choose amongst belt, chain and screw driven types of openers. Factors such as noise, maintenance frequency and cost will play a key role during your choice for the opener. Therefore, you have to ensure that your door can support an automatic opener. If not, it has to be upgraded to accommodate such an opener.

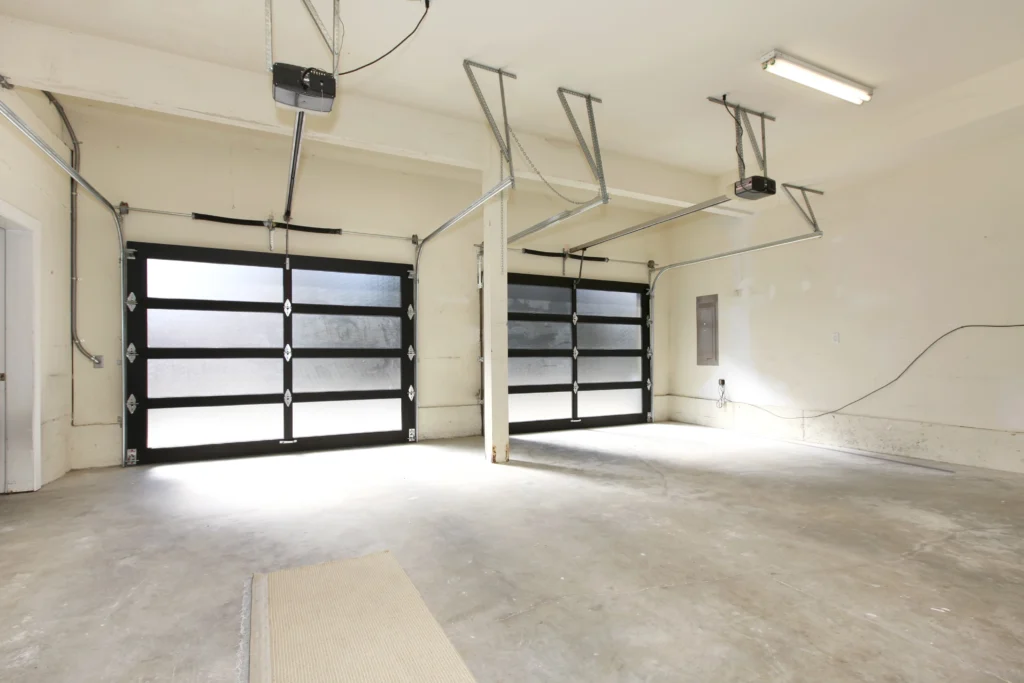
Modern Two Cars Garage With Glass Doors
Preparation Works
Preparation process entails you gathering the right materials and tools required for this job. Items such as power drill, ladder, gloves, eye protection glasses and wrenches will come handy in this project. Before commencement of any project works, all chains should be removed to avoid ensnarement since it can cause accidents that could result to serious injuries. Locks on the garage door should also be turned off or better still removed. If these were to turn on during the process, they would cause grievous physical harm.
Assemble the Opener
The next step entails compiling the opener parts since most of them come in pieces. These should be compiled using the provided user manual. Gathering of opener parts involves securing the rail to the motor chamber and the trolley to the rail. For a seamless and streamlined process, be sure to buy the pre-fabricated opener.
Mount the Brackets
Anchors serve as the traffic lane for accompanying components of the door. To achieve maximum strength to vibrations, the anchors should be mounted on the overhead beams using bigger bolts.
Mount the Opener
With the anchors tightly secured on the beams, it is now time to install the opener. To do this, pass the angle iron or the provided straps through the anchors and the opener and extend it to both ends of the garage. As you do that, be sure that it is tightly anchored and level to achieve a seamless opening and shutting of the door.
Installing the Opener Arm
The opener arm acts as the link between the door and the latch. For this reason, a reinforcement anchor on the door is needed. In order to mount the opener arm, connect the arm to the trolley and then the door itself. For a perfect fit free of vibrations, ensure the arm is tightly anchored on the door and the entryway mechanism.
Wiring the Opener
With the opener in place, the installation is almost over. Even though some openers come with ready wiring, this process should be easy. Paying attention to the manufacturer directives, pass the cables through the control on the wall and then to the sensor.
Programming and Testing the Opener
Once everything fits perfectly in place, you can now give the opener a test. Plug the opener into the existing source of power and turn it on. Use the manufacturer directions to calibrate the opener according to the set instructions. By loosening or tightening the dials or bolts on the motor, you can adjust the force and travel of the door to suit your garage door needs.
Maintenance
Although this part should have come up in the previous stages, it should be done last when refining things. If you have loose bolts on the motor and the force is too much, try greasing the dynamic components as recommended by the manufacturer. This is the kind of maintenance regime you should use going into the future. As you do that, always look out for signs of deterioration among the dynamic components of not just the opener, but also the whole door.
As you may have realized, installing a garage door opener is not always easy, as one would imagine. This is where the services of a garage technician come in handy. Unless held back by weather, they will be done with the job in a much-reduced timeline. However, they can still get the job done even on a winter day when the elements are severe and the fixing of the opener cannot wait.


